
If you don’t like the video or need more instructions, then continue reading.
WordPress allows you to use your own default gravatar images. Here is how you can easily add your own custom default gravatar image in WordPress.
First you need to create an image that you want to use as the default gravatar. This image should be a square, like 250×250 pixels.
Next, you need to upload this image to your WordPress site. Head over to Media » Add New and upload your custom default gravatar image.
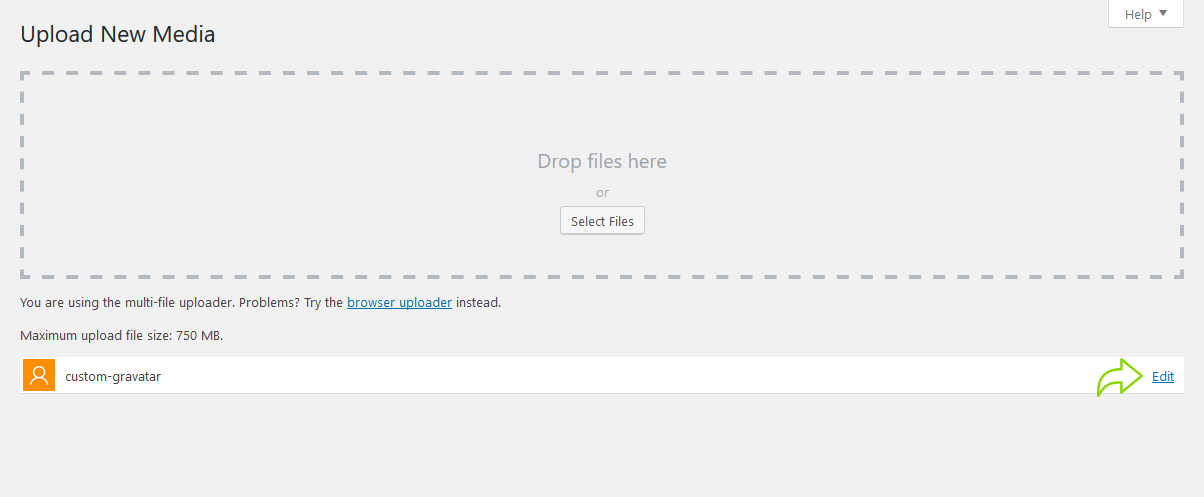
After the image is uploaded, you need to click on the Edit link next to the image.
WordPress will now open your image for editing. You need to just copy the image file URL and paste it in a plain text editor like Notepad.
Now you need to add some code to your WordPress site. If you haven’t done this before, then please take a look at our guide on how to copy paste code in WordPress.
Add the following code to your theme’s functions.php
add_filter( 'avatar_defaults', 'wpb_new_gravatar' );
function wpb_new_gravatar ($avatar_defaults) {
$myavatar = 'http://example.com/wp-content/uploads/2017/05/custom-gravatar.png';
$avatar_defaults[$myavatar] = "Default Gravatar";
return $avatar_defaults;
}
Don’t forget to replace $myavatar value to the URL of the custom gravatar image you uploaded earlier.
You can now visit Settings » Discussion page and you will notice your custom default avatar added to default avatar choices.
Select your custom default avatar image, and then click on the save changes button.
WordPress will now use your image for users who don’t have their gravatar associated with their email addresses.
We hope this article helped you learn how to change the default gravatar on WordPress.
If you liked this article, then please subscribe to our YouTube Channel for WordPress video tutorials. You can also find us on Twitter and Facebook.
